Learning how to sew can be an intimidating task but Andrea is here with pictured instructions and easy step-by-step instructions on how to use a sewing machine by making this easy fabric mug rug.

To quickly recap our How to Sew series, we’ve learned how to thread our machine and we’ve picked out the right needle and thread. Next up, how to use a sewing machine so… let’s sew!!
**First, come close … let me tell you a little secret. Want to know the way to get good at sewing? It’s practice, practice, practice. Practice makes perfect. It’s true it does.**
Put in your Universal needle and All Purpose thread (this is what I use 90% of the time) and thread your sewing machine.
How To Use A Sewing Machine

A little prep work before we push the pedal and sew:
1. Adjust your stitch length. I typically sew seams (not top-stitching or decorative stitching, but the stitching that holds two pieces of fabric together) with a stitch length of 2.2-2.5 {the middle numbers on the top row of my digital screen}. When I top-stitch or quilt, I increase the length to about 3.

2. Adjust your top thread tension using the tension regulating dial on your machine. Every machine {and every project} is going to be a little different. Mine recommends a tension of 2-6. I usually keep it around 5. You may need to adjust this as you start to sew to make sure your stitches look nice and tight, not loose {and you don’t see your bottom thread on the top of your work}.
3. Determine your seam allowance (SA). 1/4″ SA is pretty standard, but starting out, it may be easier for you to start with a 3/8″ – 1/2″ SA.

4. Grab your fabric and pin it. I recommend grabbing some fabric scraps or using some old linens to practice your straight stitching. I pulled out 4 pieces from my scrap box to demonstrate. Put two pieces right sides together and line up the right side. I don’t normally pin much any more, but I did a lot in the beginning. You can pin at an angle to the side or parallel to the side. Whatever you do, DO NOT sew over your pins. It is bad for your needle and your machine. Your needle can push the pin down into the under carriage of the machine and it can get caught in the mechanisms. {Trust me, I speak from experience.}
If you pin far enough from the side, you can keep your pins in as you sew. Otherwise, make sure to stop and remove the pin before your needle gets to it.
How To Sew

1. Line up the right side of your two pieces {pinned or held together} with the guide line for your SA. Typically if you line up your work with the edge of your presser foot, it will give you a 1/4″ SA. My machine has guidelines on both the plastic bobbin cover plate and the metal needle plate.

2. Lift your foot {using the presser foot lifter} and place the fabric underneath, lining it up with the edge of the foot or the correct SA guide line. Lower foot to hold fabric.
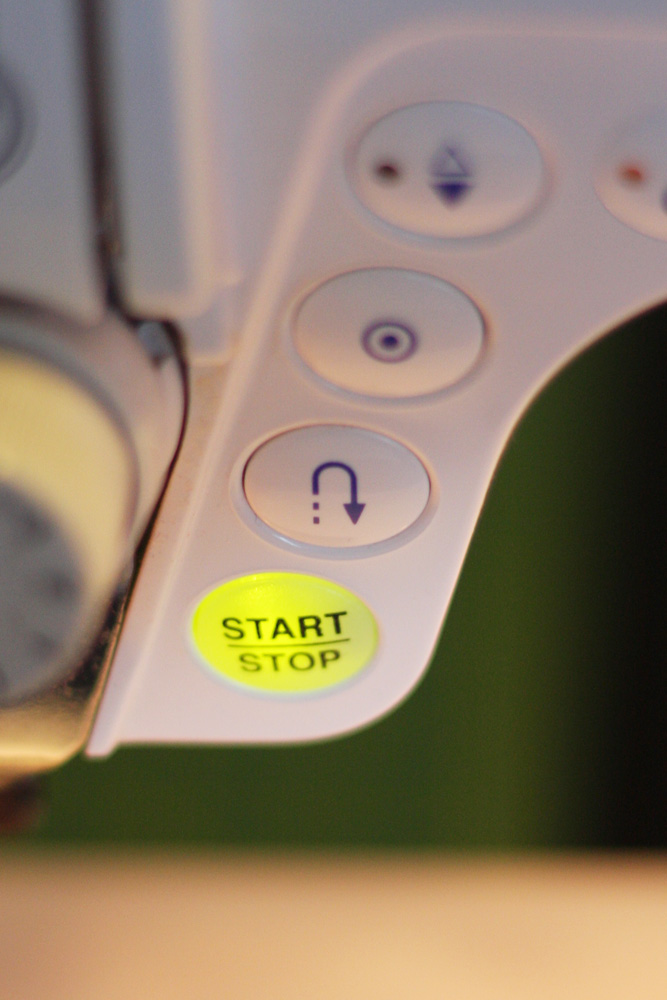
3. Slowly begin to press the pedal and sew a few stitches {about an inch}. I almost always secure my beginning and ending stitches by doing a few ‘back stitches.’ You back stitch by holding down a reverse button or lever that, go figure, reverses the direction of your stitching. Typically you have to hold this button/lever down while pressing the pedal. Back stitch just shy of the beginning and then let up on the button/lever and continue stitching in a forward direction.

4. Continue sewing to the end of your two pieces. Back stitch a few stitches and then sew to the end of your work. Depending upon your machine settings, your needle might end in a ‘needle up’ {needle not in the fabric} or a ‘needle down’ {needle in the fabric} position. If it is in the needle down position, turn the hand wheel to bring it into the needle up position. Lift foot and remove your piece. You should have two strings attached, the upper thread and the bobbin thread. Clip them both, leaving a 4-6 inch tail of thread on the machine. You ALWAYS want to start a new seam with a tail of at least 4 inches. Otherwise your top thread gets taken back up and un-threads your needle. You will then be frustrated {again experience talking here}.
5. Repeat steps 1-4 with remaining scraps, continuing to place them right sides together and sew the right side.

Tada!! You just sewed yourself a scrappy-patchwork piece. Which with a little bit of seam pressing, trimming, straight line quilting and binding …

To turn it into this cheerful mug rug follow the step-by-step instructions over on my blog.
I know, I know that is a lot of additional steps, but it is all done with straight lines. Straight lines are the great starting point for getting good and comfortable with your machine and sewing.
Ideas to try:: Pillowcases, simple napkins, envelope closure pillow cover, shower curtain, etc.
Now practice, practice, practice because in late June, we’ve got ourselves a date to make a simple quilt where you can really turn your straight line stitching into a beautiful keepsake. Plus … you can win the fabric to make your quilt too!

How to Sew Series:
- Step 1: How To Thread a Sewing Machine {step-by-step}
- Step 2: The Needle and Thread Guide {all you need to know}
- Step 3: How To Use A Sewing Machine {fabric mug rug}
- Step 4: How To Make A Pillow Sham or Cover {sewing pattern}
- Step 5: How to Sew A Basic Quilt Tutorial
Free Sewing Patterns:
- 9 Banners & Creative Bunting Patterns
- 10 Anthropologie Inspired DIY Projects {free patterns}
- How to Sew the Perfect Pleats
If you have any questions about learning to sew, free to leave your question in the comments or on the Tip Junkie Facebook page. Or if youre looking for a specific pattern, let me know! Ill be happy to find it for you.
I’m Andrea of Knitty Bitties my little shop that fills my heart as I sew my days away in a wonderful room creating little bits of happy for you. Come visit my blog for lots of creative inspiration, free tutorials and snippets of my everyday life.
P.S. Join the conversations over on the Tip Junkie Facebook page. It’s a great place to ask questions on how to make things or for specific tutorials you need.
 |
Promoting creative women through their tutorials,
craft rooms, and products. .
~ Laurie {a.k.a. the Tip Junkie}
|

Hi Mia!
I think that I’ll cover this topic on a post coming soon! Thanks for bringing it up and happy sewing!!
Wow! I’m actually sewing now! Thank you for these great tips!
You’ve touched a bit on it but could you explain the tension and stich length numbers a bit more. How do you know what to set it to for each project? When do you want more tension or longer stiches?
I must admit I didn’t even know that dial with the numbers on it was for stich length before reading this!
Of course you can link to it. I would be completely honored!
Laurie {Tip Junkie}
Oh my gosh…who told you? I know you wrote this exclusively for me!!! As much as I want to sew, I have an intense fear of my sewing machine (which still sits unopened in the box from my purchase two years ago.) Thank you, thank you for this…you have given me the courage to open the box!
May I link to this? I just have to share this with my readers, who already know about my long-suffering fear!